These Mini Graveyard Cookie Cakes turn refrigerated chocolate-chip cookie dough into little Halloween graveyards! Each cookie cake gets a layer of chocolate frosting, crushed Oreo “dirt,” and chocolate tombstones for the graveyard and white chocolate skeletons, plus a gummy worm!
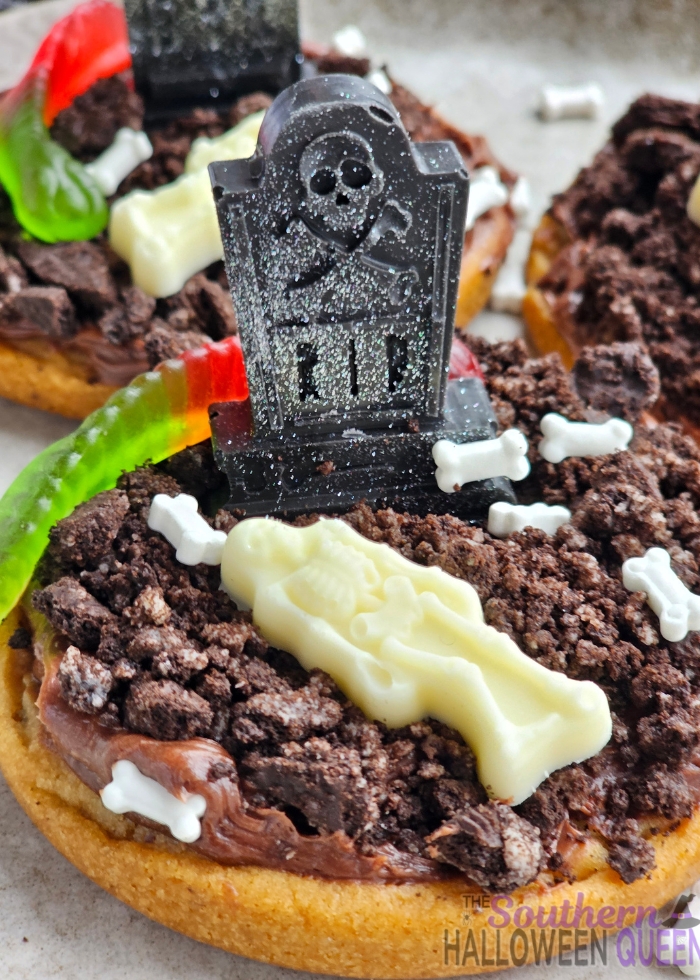
I love making little individual Halloween desserts. You can decorate each one a little differently, and these cookie cakes are simple enough that you don’t need any fancy decorating skills.
The refrigerated cookie dough keeps things easy, and a silicone muffin-top pan gives the cookies their little round cake shape. Once they’re cooled, it’s time for frosting, cookie crumbs, and all those spooky decorations!
I’m sharing these Mini Graveyard Cookie Cakes for Halloween Treats Week. They’re a fun way to dress up chocolate-chip cookies for your Halloween treat table.
What You’ll Need
- Refrigerated chocolate chip cookie dough: The easy shortcut for making these soft mini cookie cakes.
- Chocolate frosting: Holds the Oreo dirt and candy decorations in place.
- Oreo cookies: Crush them finely to make your graveyard “dirt.”
- Black candy melts or melting wafers: For making the molded tombstones.
- Edible glitter spray: Adds a little shimmer to the black candy tombstones.
- White chocolate melting wafers: For making the molded skeletons.
- Bone sprinkles: Scatter a few over the Oreo dirt.
- Gummy worms: Add one to each cookie cake for a creepy finishing touch.
You’ll also need a silicone muffin-top baking pan, a silicone tombstone mold, and a silicone skeleton mold.
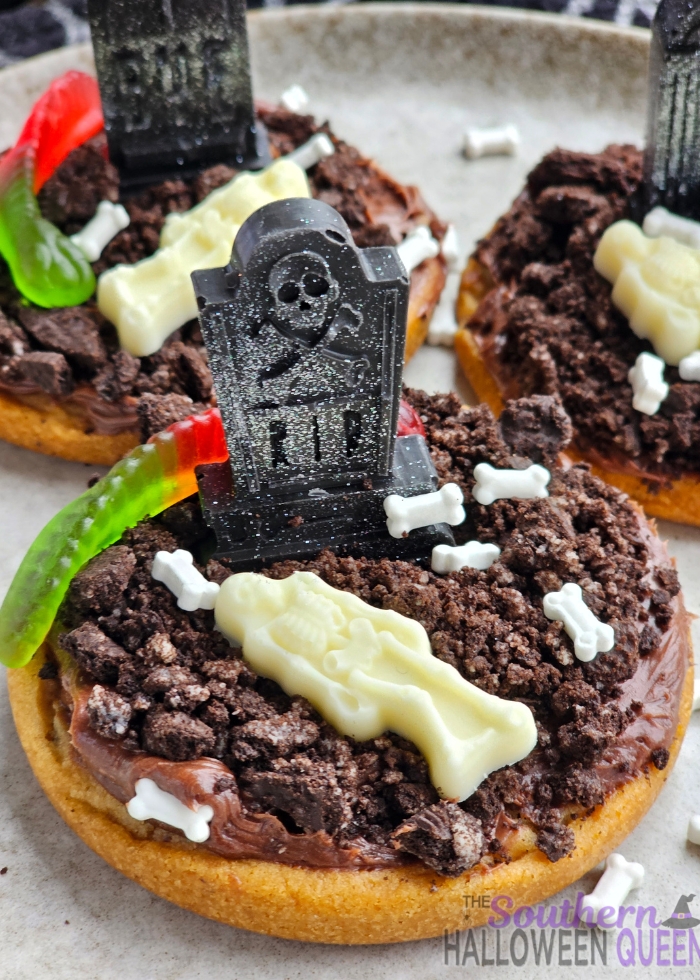
How to Make Mini Graveyard Cookie Cakes
Prepare the pan and dough
Preheat the oven according to the cookie-dough package directions. Prepare eight cavities of your silicone muffin-top pan, lightly greasing them if needed according to the pan’s instructions.
Place the silicone pan on a baking sheet for support. Divide the cookie dough evenly among the eight cavities and press it into an even layer, leaving room for the cookies to spread and rise.
Bake and cool
Bake until the edges are golden and the centers are set. Begin checking around 12 minutes. The baking time will depend on the size of your pan cavities and the thickness of the dough.
Let the cookie cakes cool completely before gently removing them from the silicone pan.
Add the frosting and Oreo dirt
Crush the Oreos into crumbs using a food processor or a zip-top bag and rolling pin.
Spread chocolate frosting over each cooled cookie cake, then sprinkle the tops with crushed Oreos. The frosting helps hold the cookie “dirt” in place.
Decorate your graveyards
Add the graveyard decorations and candy bones, gently pressing larger decorations into the frosting so they stay in place.
Make them all alike or give each little graveyard its own arrangement!
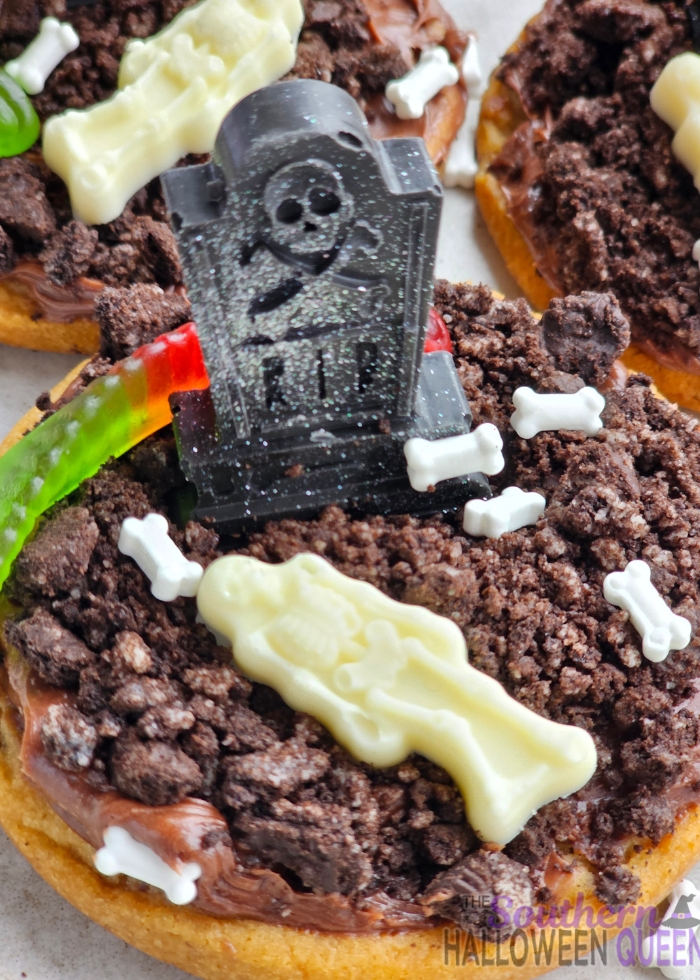
Tips for Making Mini Graveyard Cookie Cakes
- Support the silicone pan with a baking sheet. This makes it easier to move into and out of the oven.
- Divide the dough evenly. Similar portions help the cookie cakes bake at the same rate.
- Watch the cookies as they bake. Pan sizes vary, so use the golden edges and set centers as your guide.
- Cool completely before removing and frosting. Warm cookies are more delicate, and the frosting can melt if you add it too soon.
- Add decorations while the frosting is soft. This helps the crumbs, sprinkles, and bones stick.
Can I Make These Ahead?
Yes! Bake the cookie cakes ahead of time, let them cool completely, and store them in an airtight container until you’re ready to decorate.
You can also decorate them the day before serving. Keep them in a single layer in a covered container, following the storage directions on your chocolate frosting. The Oreo crumbs and candy decorations may soften as they sit against the frosting.
How to Store Mini Graveyard Cookie Cakes
Store the decorated cookie cakes in a covered container and follow the storage directions on your frosting. Keep them in a single layer so the decorations don’t get squished.
Mini Graveyard Cookie Cakes Recipe
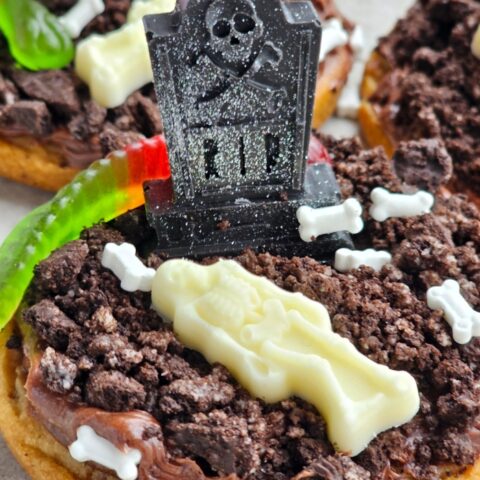
Mini Graveyard Cookie Cakes
These Mini Graveyard Cookie Cakes turn refrigerated chocolate-chip cookie dough into little Halloween graveyards! Each cookie cake gets a layer of chocolate frosting, crushed Oreo “dirt,” and graveyard sprinkles and candy bones.
Ingredients
- 1 package refrigerated chocolate chip cookie dough, about 16.5 ounces
- 1 cup chocolate frosting
- 8–10 Oreo cookies, finely crushed
- Black candy melts or black melting wafers, enough to make 8 tombstones
- White chocolate melting wafers, enough to make 8 skeletons
- Edible glitter spray
- Bone sprinkles
- 8 gummy worms
Equipment
- Silicone muffin-top baking pan
- Silicone tombstone candy mold
- Silicone skeleton candy mold
Instructions
- Preheat the oven to 350°F. Slice the refrigerated cookie dough into approximately ¼-inch-thick rounds and place in the cavities of a silicone muffin-top pan.
- Bake for about 10 minutes, or until the edges are lightly golden and the centers are just set. Keep the cookies soft for that cookie cake texture. Let them cool completely before removing from the pan.
- Melt the black candy melts according to the package directions. Fill the silicone tombstone mold and gently tap it on the counter to release air bubbles. Let the candy set completely before carefully unmolding.
- Lightly spray the molded tombstones with edible glitter spray. Let the coating dry before decorating.
- Melt the white chocolate wafers according to the package directions. Fill the silicone skeleton mold, gently tap to release air bubbles, and let set completely. Carefully remove the skeletons from the mold.
- Spread chocolate frosting over each cooled cookie cake, then sprinkle with crushed Oreos to create the graveyard dirt.
- Gently press a glittery black tombstone into the frosting on each cookie cake. Add a white chocolate skeleton, a few bone sprinkles, and a gummy worm.
Notes
- Yield and baking time will vary with the size of your muffin-top pan cavities.
- Cool the cookie cakes completely before removing them from the pan and decorating.
- Store in a single layer, following the storage directions on your frosting.
The amount of melting wafers needed will depend on the size of your silicone molds. Make the tombstones and skeletons ahead of time so they are fully set and ready to use when you decorate.
If you make this recipe, snap a picture and share it on Instagram or Facebook with the hashtag #SouthernHalloweenQueen — We love to see what you’re making from the blog!
Love it? Pin It!


HAPPY HALLOWEEN!!!
Welcome to 2026’s #HalloweenTreatsWeek event!
This is our 9th year doing #HalloweenTreatsWeek … has it really been 9 years? Wow!
#HalloweenTreatsWeek is a Halloween blogging event that is hosted by Angie from Big Bear’s Wife every October. This event is an online, week-long event that is filled with some amazingly wicked Halloween treats and recipes from some fantastic Halloween-loving bloggers!
Make sure to check out all of the fun Halloween recipes that we’re sharing this week!
Today’s Recipes
- Pecan-Stuffed Date Roaches from Big Bear’s Wife
- Melting Witch Cinnamon Rolls from Shoppin’ Buggy Recipes
- Mini Graveyard Cookie Cakes from Southern Halloween Queen
- Halloween Pizza Dip from Art of Natural Living
- Monster Milkshake from Jen Around the World
- Dr. Finkelstein’s Roasted Cauliflower Brain from The Spiffy Cookie
- Pumpkin and Pomegranate Molasses Cake from A Day in the Life on the Farm
- Pizza Skull Bombs from Magical Ingredients
Leave a Reply