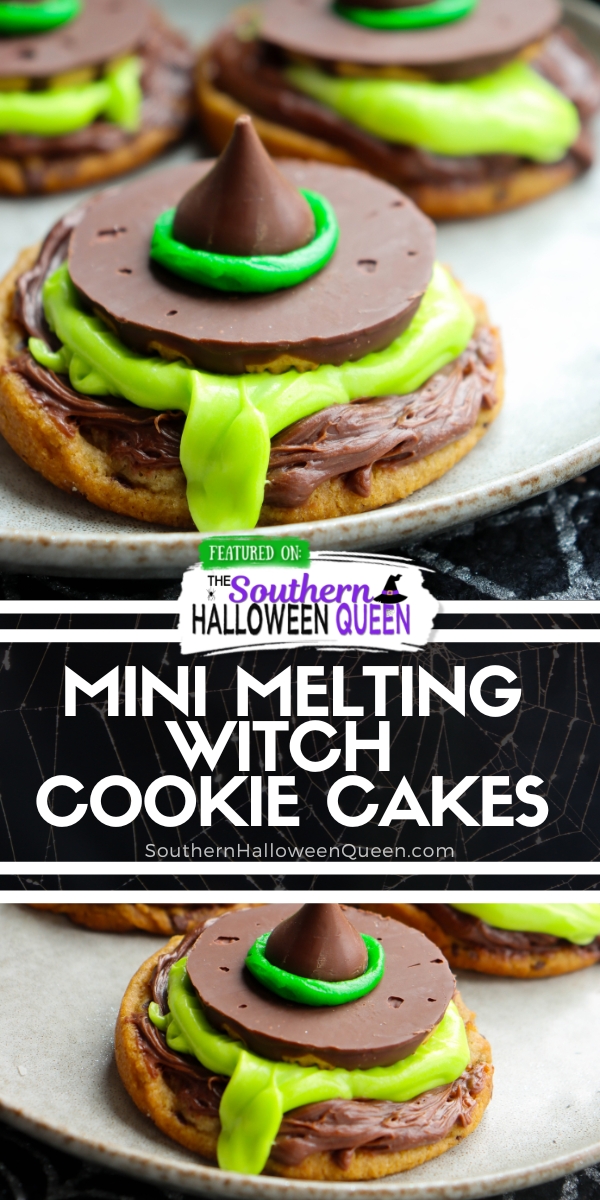
These Mini Melting Witch Cookie Cakes start with soft chocolate chip cookies and get topped with chocolate frosting, green cream cheese icing, and little cookie witch hats. The green icing peeking out beneath each hat makes them look like a witch has melted right onto the cookie!
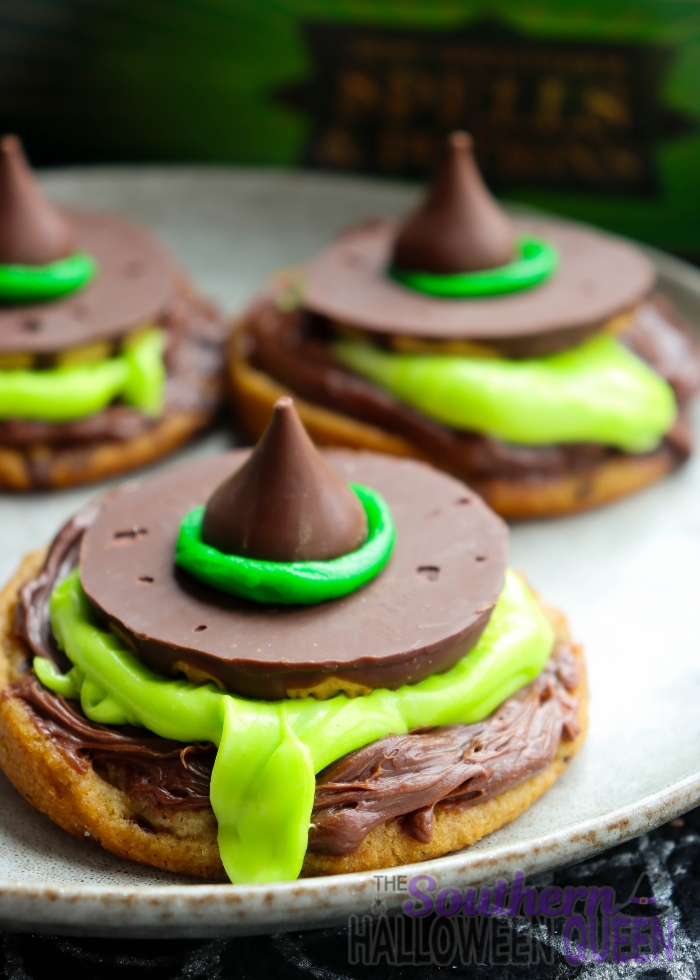
I made these Mini Melting Witch Cookie Cakes with a roll of refrigerated Pillsbury chocolate chip cookie dough, so there’s no mixing homemade dough for this recipe. A silicone muffin-top pan gives them their round shape, and baking them just until the edges are lightly golden keeps that soft cookie cake texture.
The hats are made with Fudge Stripes cookies and Hershey’s Kisses. If you’ve made any of my melting witch recipes before, you’ll recognize these! A little icing holds the Kiss in place and becomes the green icing band around the middle that finishes each hat.
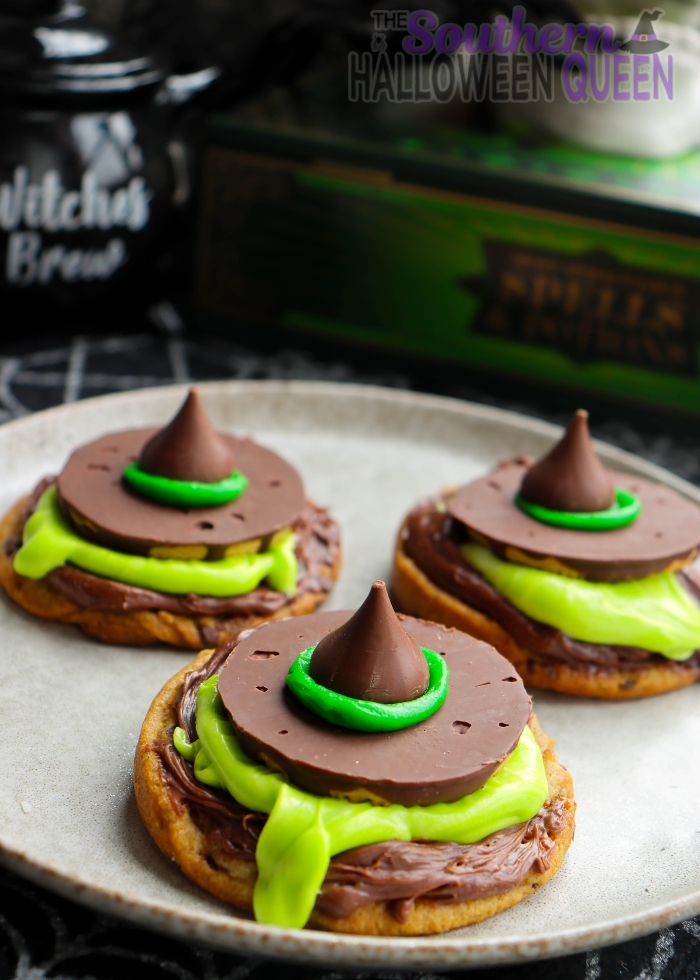
Ingredients You’ll Need
- Pillsbury refrigerated chocolate chip cookie dough
- Chocolate frosting
- Cream cheese frosting
- Green food coloring
- Fudge Stripes cookies
- Hershey’s Kisses
- Green decorating icing for the hats
How to Make Mini Melting Witch Cookie Cakes
Slice the refrigerated cookie dough into rounds approximately ¼ inch thick and place them into the cavities of a silicone muffin-top pan. Bake at 350°F for about 10 minutes, until the edges are lightly golden.
Let the cookies cool in the pan until they’re firm enough to remove, then let them cool completely before decorating.
Spread a spoonful of chocolate frosting over each cookie cake. Stir green food coloring into the cream cheese frosting, then add a small spoonful over the chocolate frosting. Spread it into a little puddle, leaving some chocolate frosting visible around the edges.
For the hats, turn the Fudge Stripes cookies chocolate-side up. Use a dab of icing to attach an unwrapped Hershey’s Kiss to the center of each cookie, then pipe a green icing band around the base of the Kiss.
Place a hat on each cookie cake and gently press it into the green frosting. Let a little green frosting peek out around the hat to create the melted-witch look!
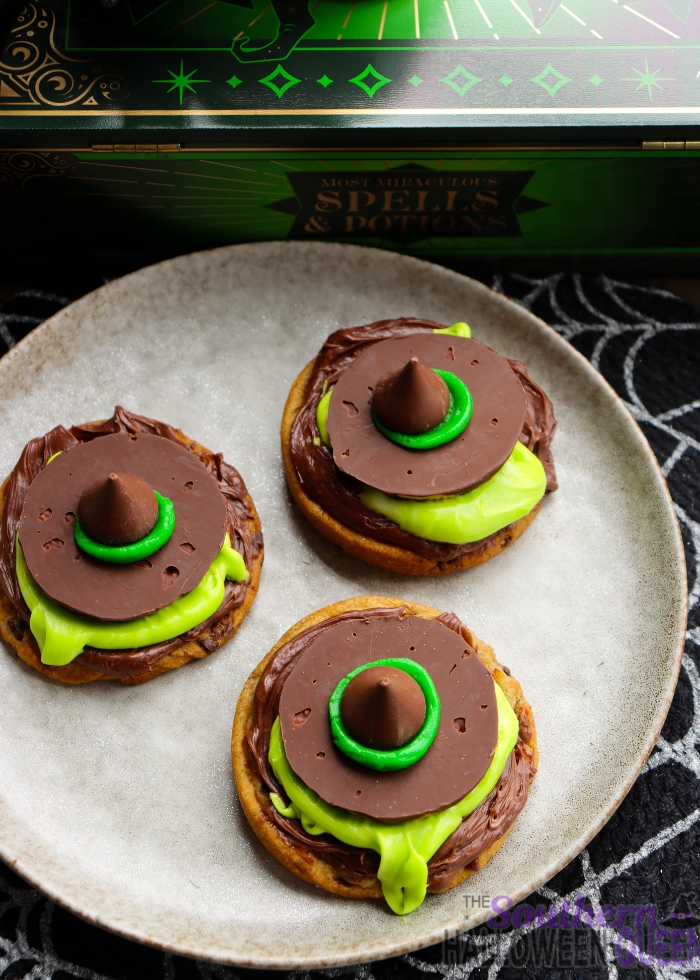
A Few Decorating Tips
- Let the cookie cakes cool completely so the frosting stays in place.
- Leave the green frosting a little uneven. Those drips and puddles are part of the decoration!
- Make the witch hats while the cookie cakes cool so they’re ready for assembly.
Mini Melting Witch Cookie Cakes Recipe
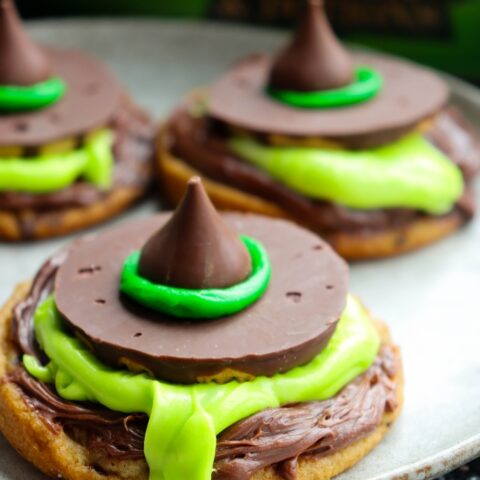
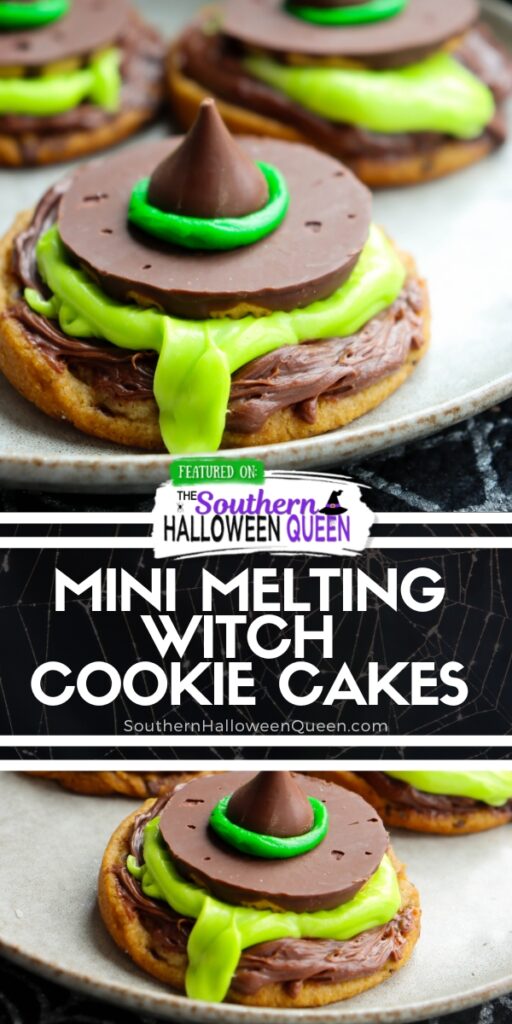
Mini Melting Witch Cookie Cakes
These Mini Melting Witch Cookie Cakes start with soft chocolate chip cookies and get topped with chocolate frosting, green cream cheese icing, and little cookie witch hats. The green icing peeking out beneath each hat makes them look like a witch has melted right onto the cookie!
Ingredients
- 1 roll Pillsbury refrigerated chocolate chip cookie dough
- About ½ cup chocolate frosting, or enough to cover 8 cookie cakes
- About ¼ cup cream cheese frosting, plus more if needed
- Green food coloring, as needed
- 8 Fudge Stripes cookies
- 8 Hershey’s Kisses, unwrapped
- Green decorating icing, for attaching the Kisses and decorating the hats
Instructions
- Preheat the oven to 350°F. Place a silicone muffin-top pan on a baking sheet for support.
- Slice the cookie dough into approximately ¼-inch-thick rounds. Place a round in each cavity, gently pressing it to fit if needed.
- Bake for about 10 minutes, until the edges are lightly golden and the centers are soft.
- Allow the cookie cakes to cool in the pan until firm enough to remove. Carefully remove them and let them cool completely.
- Spread a spoonful of chocolate frosting over each cookie cake.
- Stir green food coloring into the cream cheese frosting until you reach your desired shade.
- Add a small spoonful of green cream cheese frosting to each cookie cake. Spread it into an uneven puddle over the chocolate frosting.
- Place the Fudge Stripes cookies chocolate-side up. Attach a Hershey’s Kiss to the center of each with a small dab of green decorating icing.
- Pipe a green icing band around the base of each Kiss.
- Set a witch hat on each cookie cake, pressing gently into the green frosting so it peeks out around the edges.
Notes
Frosting amounts are approximate; use enough for a thin chocolate layer and a small green puddle on each cookie cake. Yield and baking time may vary with the size of your pan and dough slices. Follow the storage directions on your frosting containers.
Love it? Pin it!
HAPPY HALLOWEEN!!!
Welcome to 2026’s #HalloweenTreatsWeek event!
This is our 9th year doing #HalloweenTreatsWeek … has it really been 9 years? Wow!
#HalloweenTreatsWeek is a Halloween blogging event that is hosted by Angie from Big Bear’s Wife every October. This event is an online, week-long event that is filled with some amazingly wicked Halloween treats and recipes from some fantastic Halloween-loving bloggers!
Make sure to check out all of the fun Halloween recipes that we’re sharing this week!
Today’s Recipes:
- Graveyard Boo-Nana Pudding Cups from Big Bear’s Wife
- Chocolate Eyeball Cookies from Shoppin’ Buggy Recipes
- Mini Melting Witch Cookie Cakes from Southern Halloween Queen
- Empress Gin & Tonic from Art of Natural Living
- Graveyard Brownies from Jen Around the World
- Skull Raspberry Crumble Bars from The Spiffy Cookie
- Pumpkin Patch Brownies from A Day in the Life on the Farm
- Werewolf Sliders from Karen’s Kitchen Stories
- Black Magic Beluga Lentil Salad from Magical Ingredients
Leave a Reply